How to Add Addresses to Your myArrow Address Book
Your myArrow Account Settings allows you to save addresses to which orders from your account will be shipped. This feature enables you to organise the distribution of the garments, especially for companies/schools/businesses with multiple locations or branches.
Navigating to Account Settings
To start, navigate to the myArrow website at www.myarrow.nz, and log in to your myArrow account using your email address or Unique User ID.
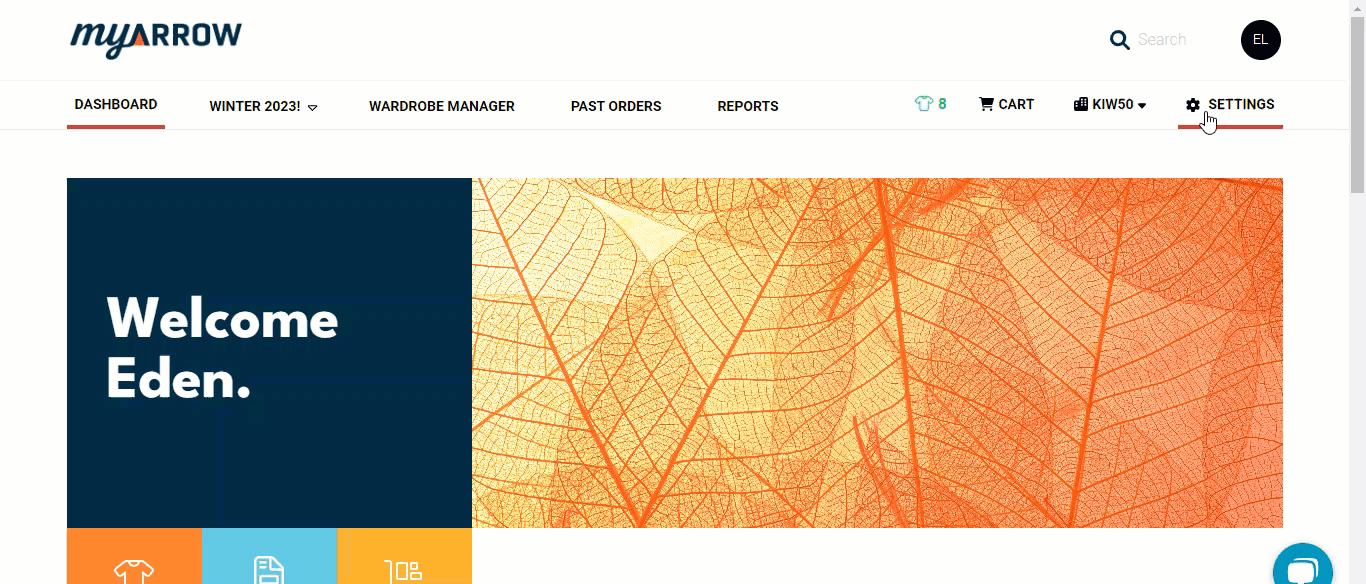
On your dashboard, (a) move your cursor to the upper right portion of the screen and click Settings.
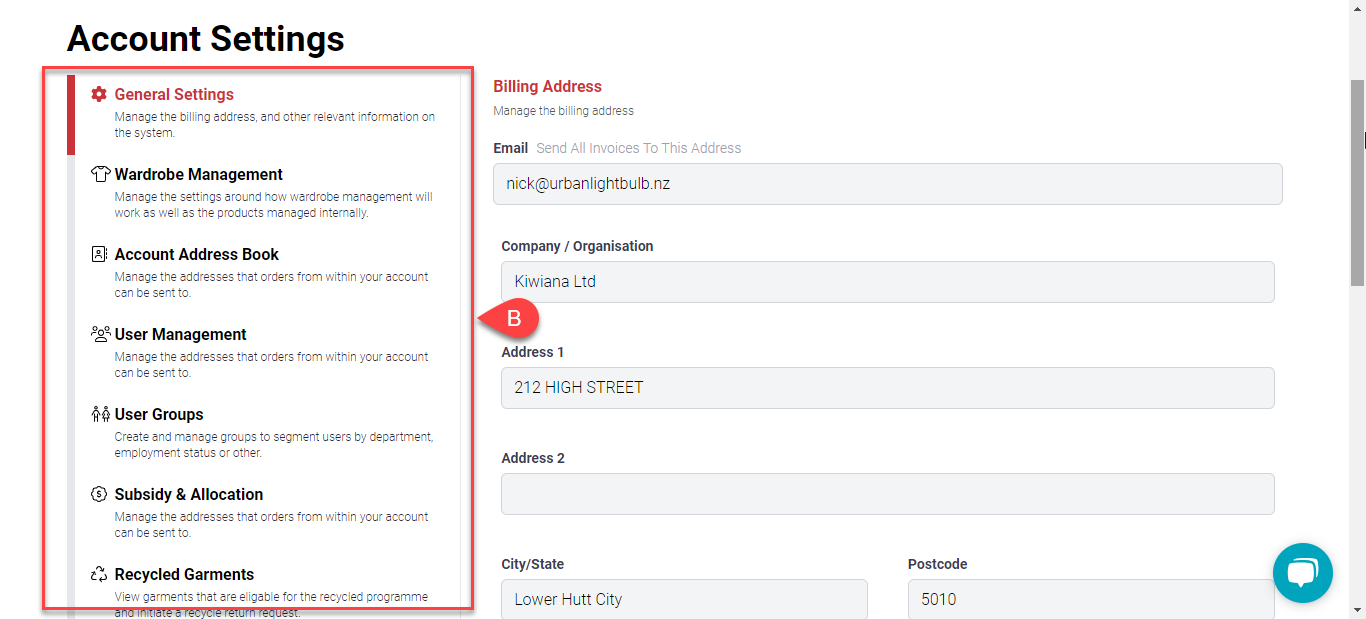
You will (b) redirect to the Account Settings page, with various sections on the sidebar. This includes General Settings, Subsidy & Allocation, Recycled Garments, Wardrobe Management, Account Address Book, User Management and User Groups.
In this guide, we’ll only focus on the Address Book.
Address Book Settings
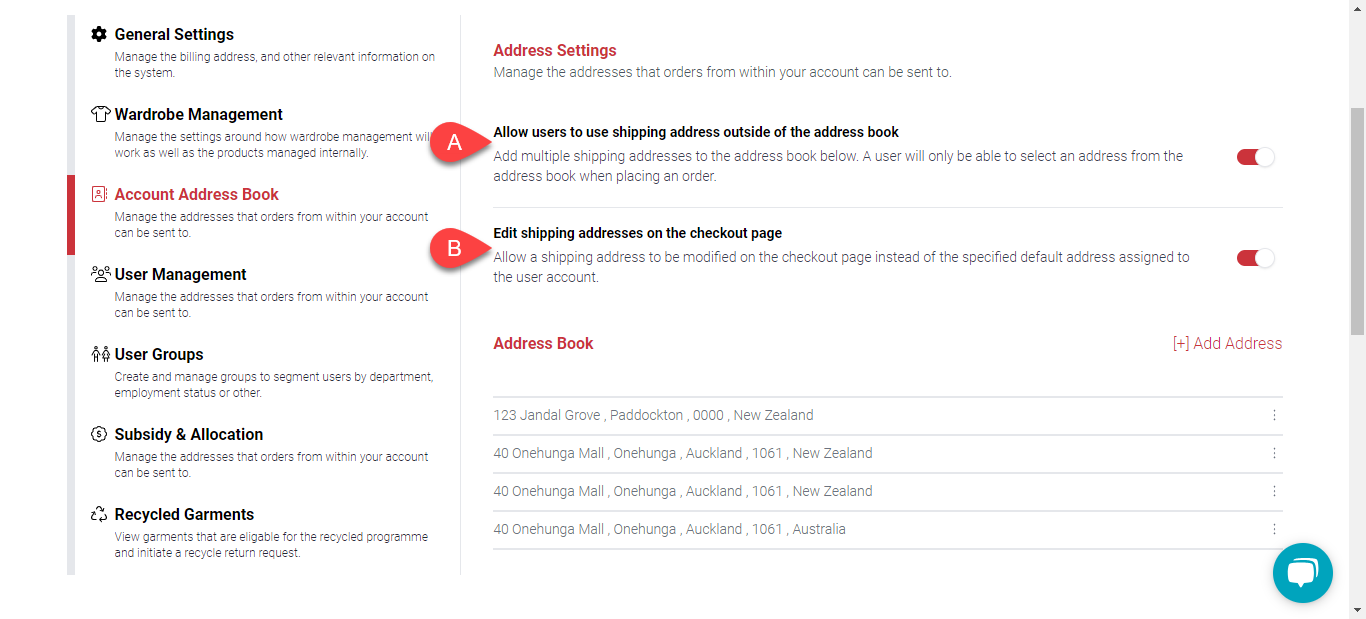
In this section, you will see two options that you can toggle On/Off. The (a) first option will allow you to use shipping addresses outside the address book. The (b) second option will allow you to edit the shipping address during checkout. When disabled, only addresses from the address book will appear as selections when checking out.
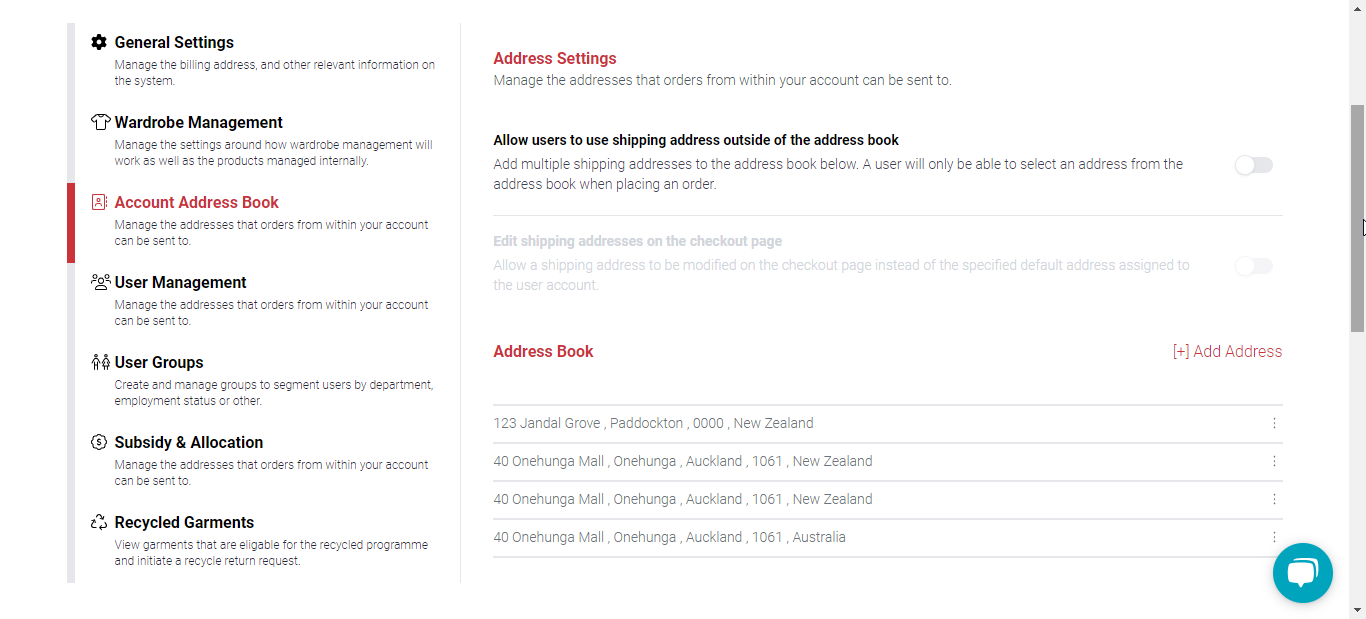
The image above shows when shipping addresses outside the address book are prohibited. This will also remove the ability to edit the shipping addresses on the checkout page.

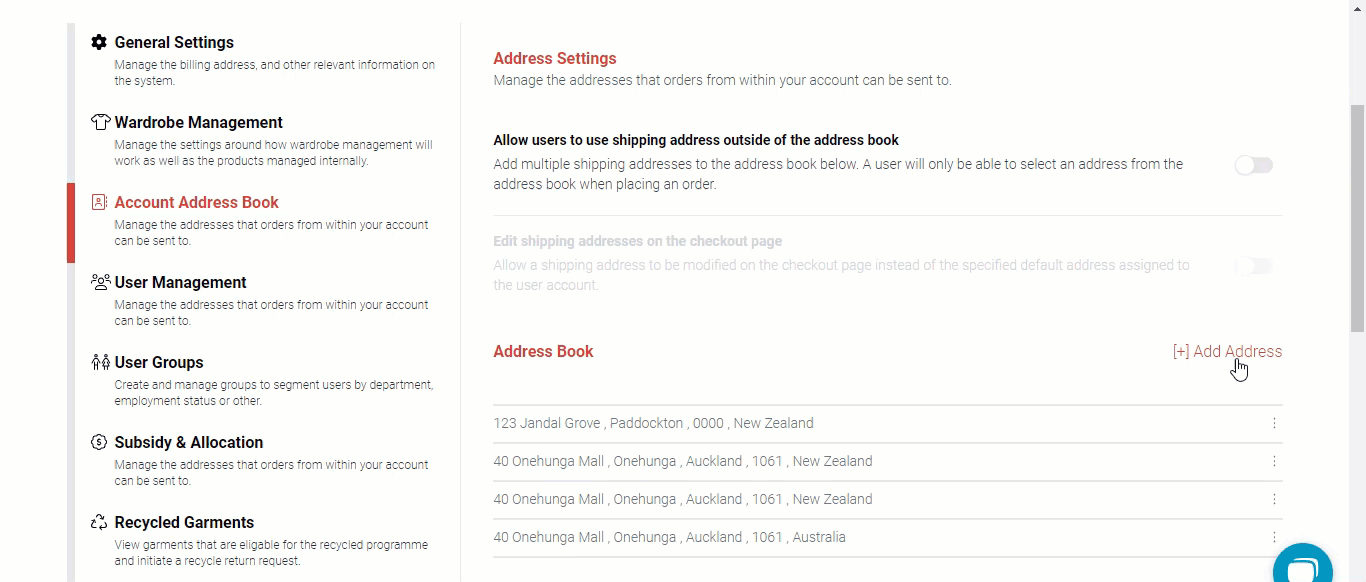
Clicking (c) the “Add Address” button will open a new dialogue box. This will allow the user to add a new shipping address. Once all details have been filled in, click the Save button. 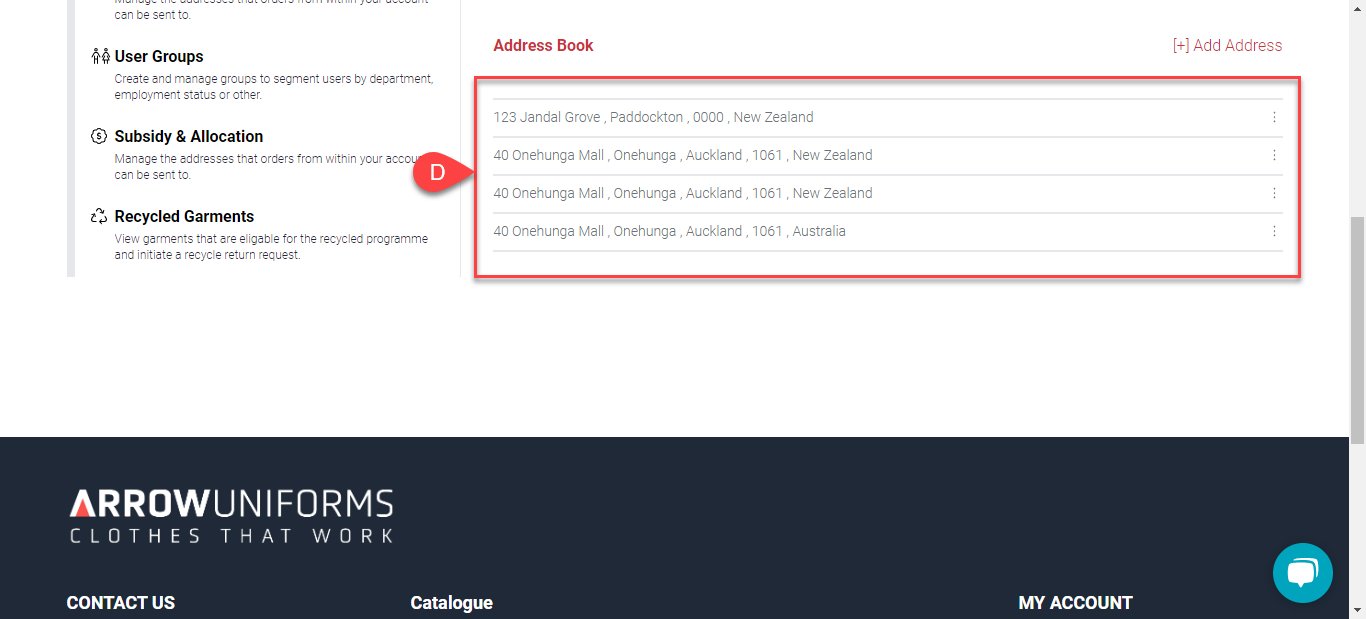
The new address (d) should appear on the list above.