How to Manage and Navigate the Subsidy and Allocation Settings
The myArrow platform offers subsidies and allocations on uniforms for its users and clients. This feature can easily be toggled on in the Account Settings by your Uniform Manager and Administrators. Users can check their uniform credit on the dashboard and see the garments available for Subsidy or Allocation.
This guide will teach you how to check and manage your uniform subsidy and allocations. It is important to note that Subsidy pertains to a price-based credit that users can use to purchase products on the account. On the other hand, Allocation is a unit-based credit, so users can manage how many products or units they can assign or purchase for themselves.
Checking for Credit Limit

On the myArrow main Navigation Bar, you can immediately check for the available subsidy or allocation credit. Depending on the console settings, your users can view a price-based credit limit (Subsidy) or a unit-based credit limit (Allocation).
Important Note: The Credit Limit is not a fixed quantity and may vary among departments, accounts or companies. Please contact your Uniform Manager or Administrator to learn more about your subsidies or allocations.
Navigating to Allocation Editor
To navigate the Allocation Settings, click Settings on the page's rightmost side. You will be redirected to the Account Settings page.
On the Account Settings page, click the Subsidy & Allocation Tab to manage the Subsidy & Allocation Settings.
Allocation Editor Settings

You must create and assign User Groups to properly manage the settings. Check the User Group tutorial to learn more about User Group management.
Once the User Groups have been set, you can assign them with the proper tags to indicate which category or collection applies to a particular user group.
On the Allocation Editor, click the Settings tab, and the settings will appear. You can toggle on certain features to customise the allocation settings for your users to fit their needs.

You can (a) allow users to only see garments available to them via Allocation. Garments available for Allocation have a small green shirt icon, as shown in the example above. When toggling off this feature, users can view all available products.

Users can exceed their allotted amount when the feature is active and will be charged accordingly. This can be controlled by completely toggling the feature off, asking for the Manager’s approval, or limiting it to credit card transactions only.
The system will automatically generate a payment report to track any overages. This is also dependent on the credit limit available for the user. If the credit limit is exceeded and the user purchases more than the intended units available for allocation, the overage will show on the checkout page. The excess will then be charged to the user (i.e., payroll deduction).
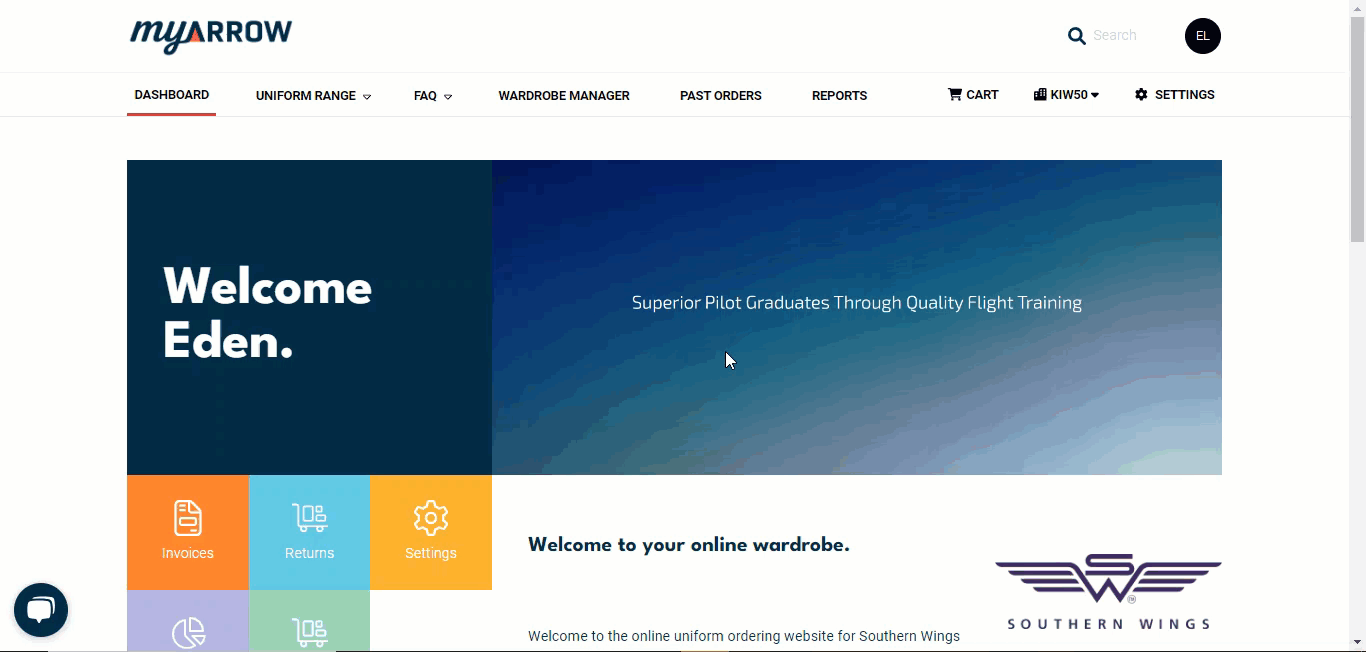
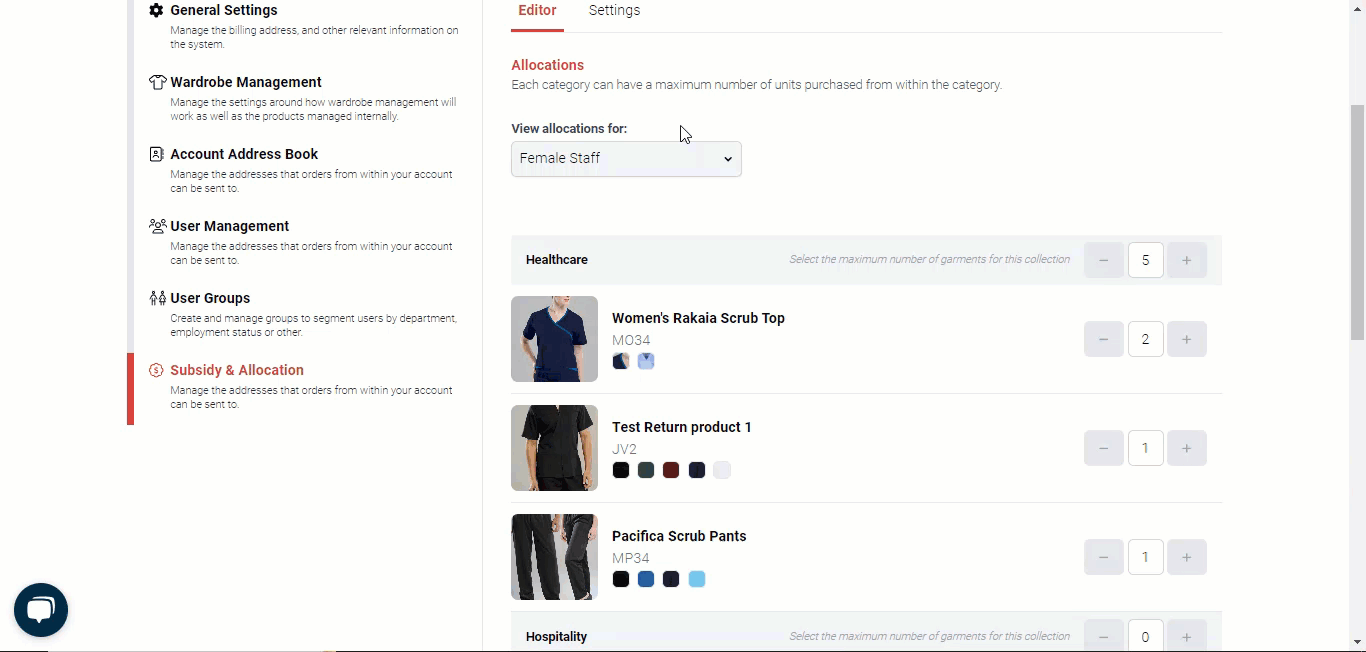
Default Allocation
You can assign the Default Allocation number to your users. To do this, click the Allocation Editor Tab. On the page is a list of the collections available for Allocation. These are divided into collections, and you can assign a maximum number of these garments per collection that the users can purchase. 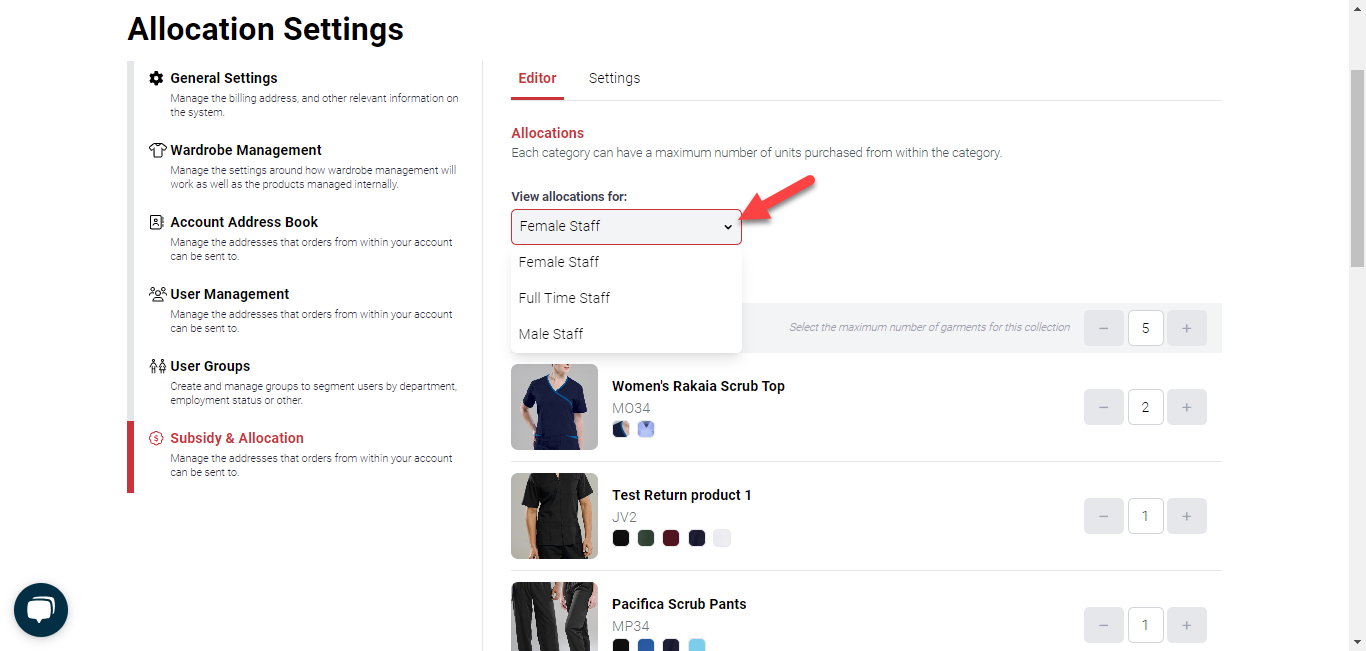
You can also view the allocations for male, female and all staff.
Rollover

Rollover pertains to when the Allocation or the Subsidy will refresh. You can (a) choose the Rollover on a fixed date during the user’s anniversary or completely toggle it off. When you select “Rollover on user’s anniversary,” (b) notice that the Rollover Fixed Date becomes opaque.

When you (c) select “Rollover on fixed date,” you can choose a fixed date. To do this, (d) click the calendar icon to set the date.

You can also set whether the Credit can rollover. You can (e) choose how often the rollover period happens (one, two, three or indefinitely).

You can also (f)change the duration when the rollover period happens (3 or 6 months, 1 or 2 years). Users can no longer access Allocations or Subsidies when the rollover period is used up.