How to Manage and Navigate the Wardrobe Management Settings
Important Note: Your account needs to enable The Wardrobe Management feature. Please talk to your sales manager for more details.
The Wardrobe Management Settings will allow certain features to be available to you, such as garment disposal policies and the products available to your account. These settings help you organise your myArrow account and the products or uniforms you use internally in the company, business, or school.
Navigating to Account Settings
To start, navigate to the myArrow website at www.myarrow.nz, and log in to your myArrow account using your email address or Unique User ID.
On your dashboard, move your cursor to the upper right portion of the screen and click Settings.
You will redirect to the Account Settings page, with various sections on the sidebar. This includes General Settings, Subsidy & Allocation, Recycled Garments, Wardrobe Management, Account Address Book, User Management and User Groups.
In this guide, we’ll only focus on the Wardrobe Management Settings.
Wardrobe Management
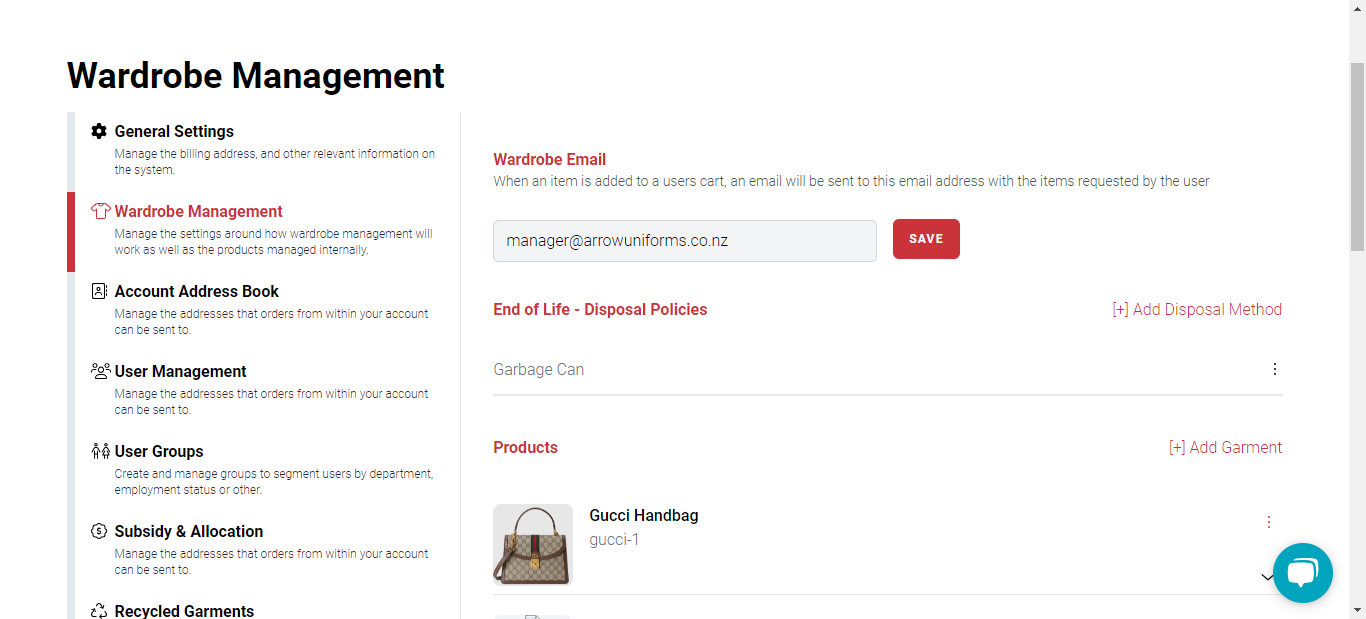
On the wardrobe management page, you’ll see three essential sections: Wardrobe Email, Disposal Policies and Products.
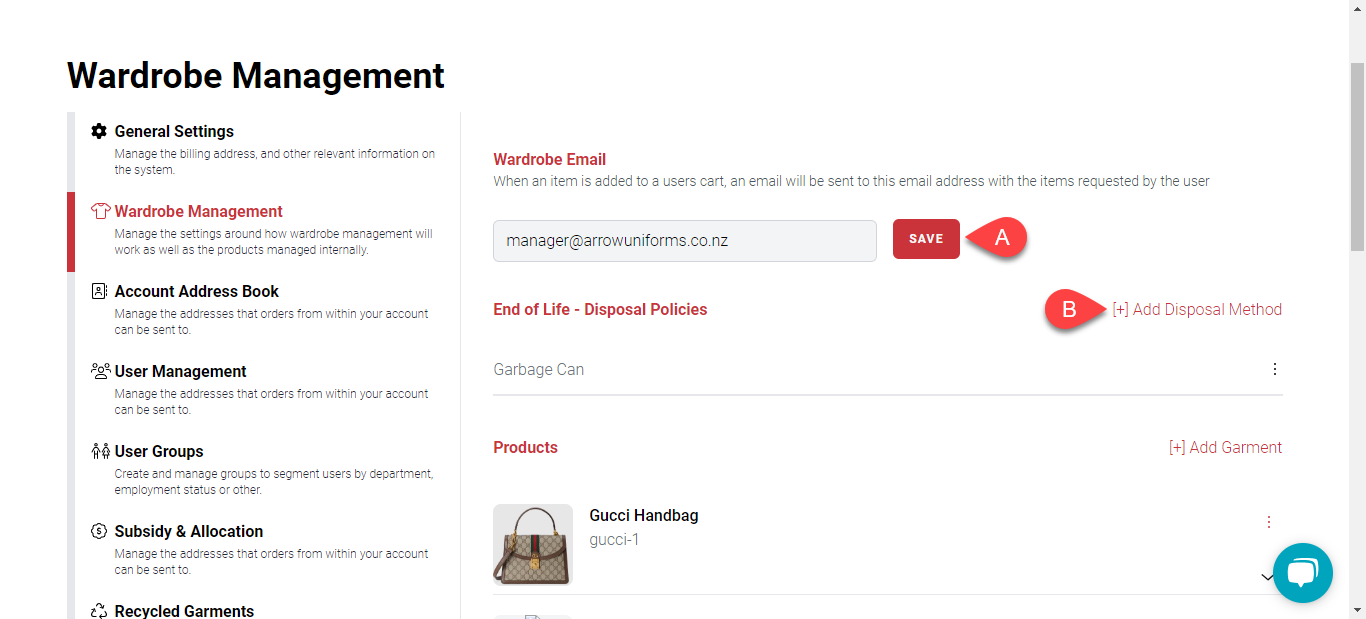
On the Wardrobe Email text field, you can (a) assign an email address that receives notifications when items are added to the cart.
The section under the wardrobe email is the End-of-Life Disposal Policies. This is (b) technically what happens to garments once they’re destroyed, faded, or do not fit the client anymore.
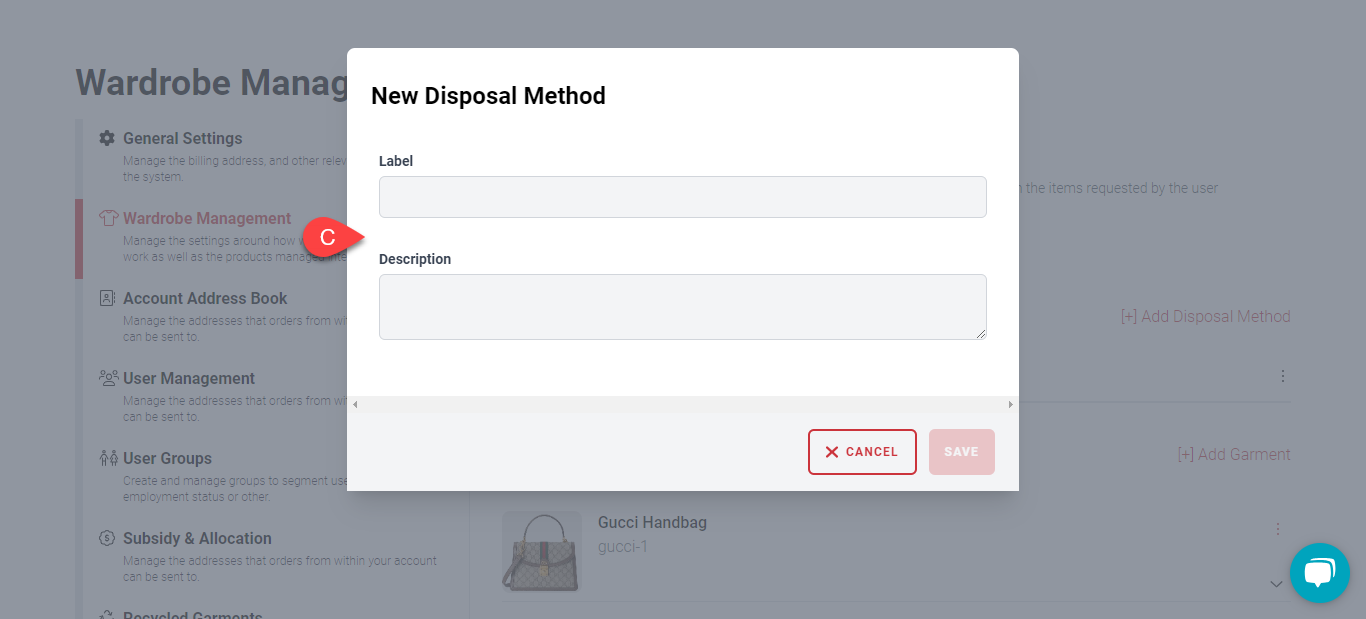
A new dialogue box will appear by clicking (c) the Add Disposal Method button. This will allow you to label your disposal policy and add a short description of it.
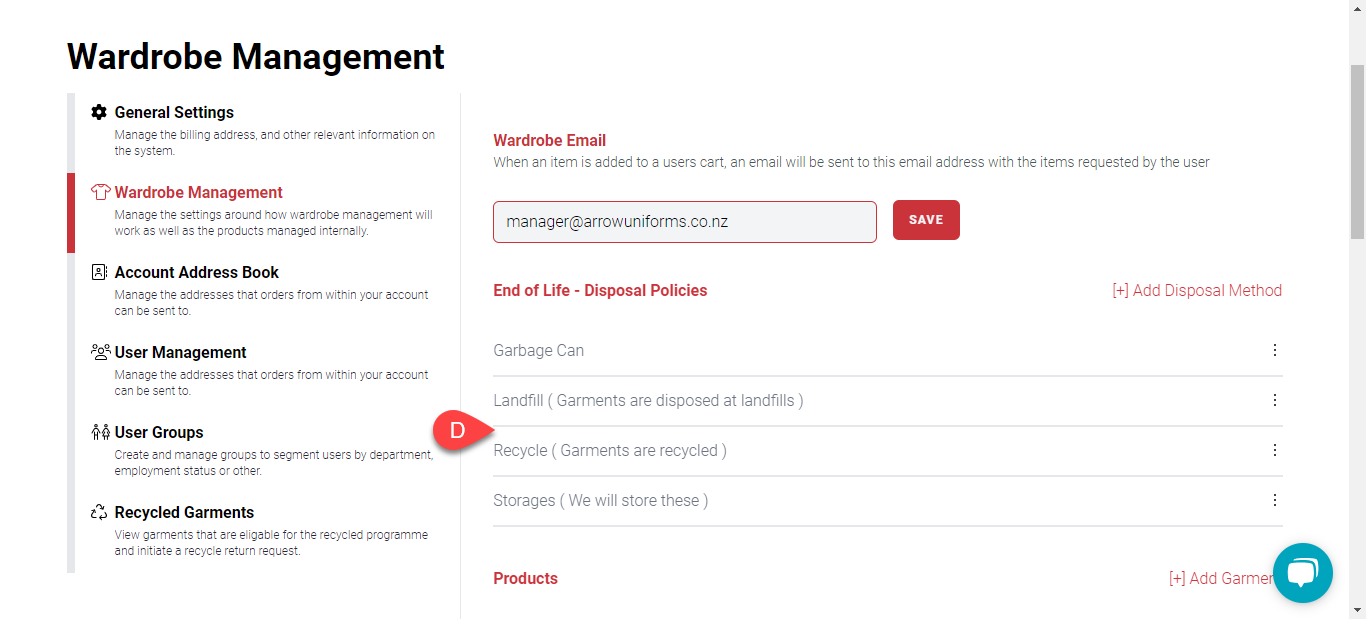
Some examples of disposal policies shown in the image above include Landfill, Storage and Recycling. You can add more disposal policies as you see fit or as required by your local area.
Uniform Closet
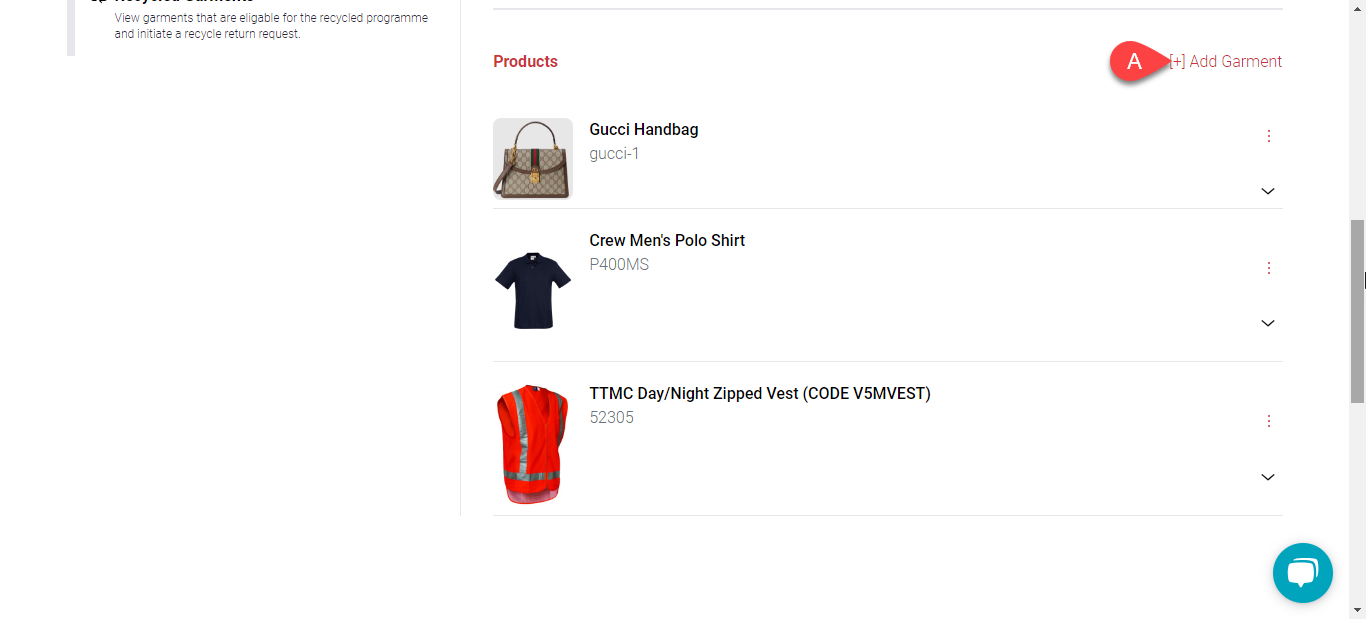
In the Product section below disposal policies, you can add garments or products that are part of your company/school’s uniform or even those not in the myArrow collection. Click (a) the “Add Garment” button highlighted in red text.
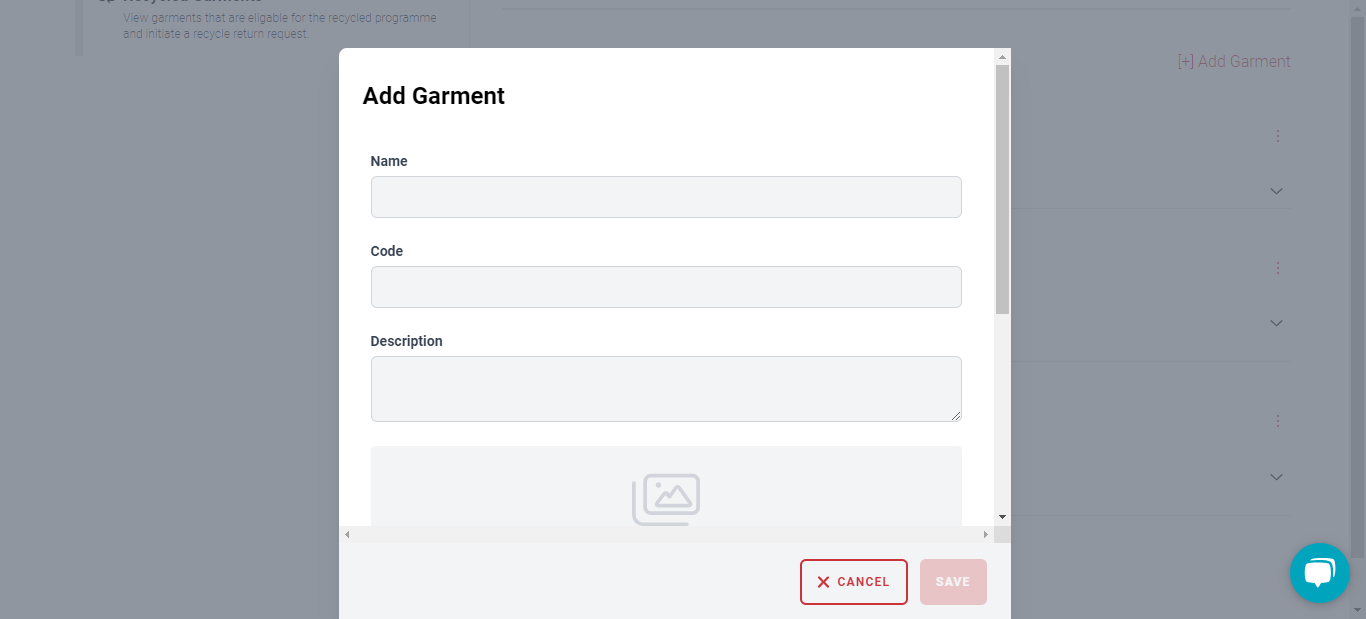
A new dialogue box should appear, allowing you to type in the product’s name, code and description.
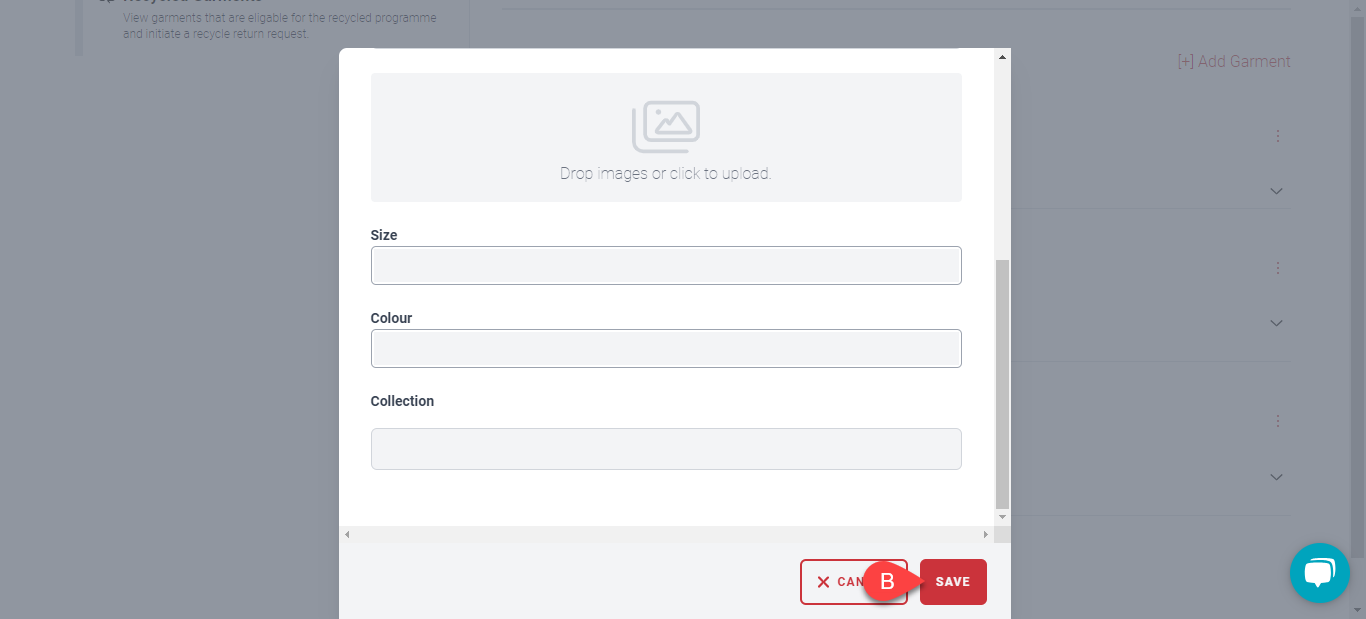
You can also drag and drop the product’s image, type in the size and colour and indicate the collection it’s from. When done with the details, (b) click on the Save button.
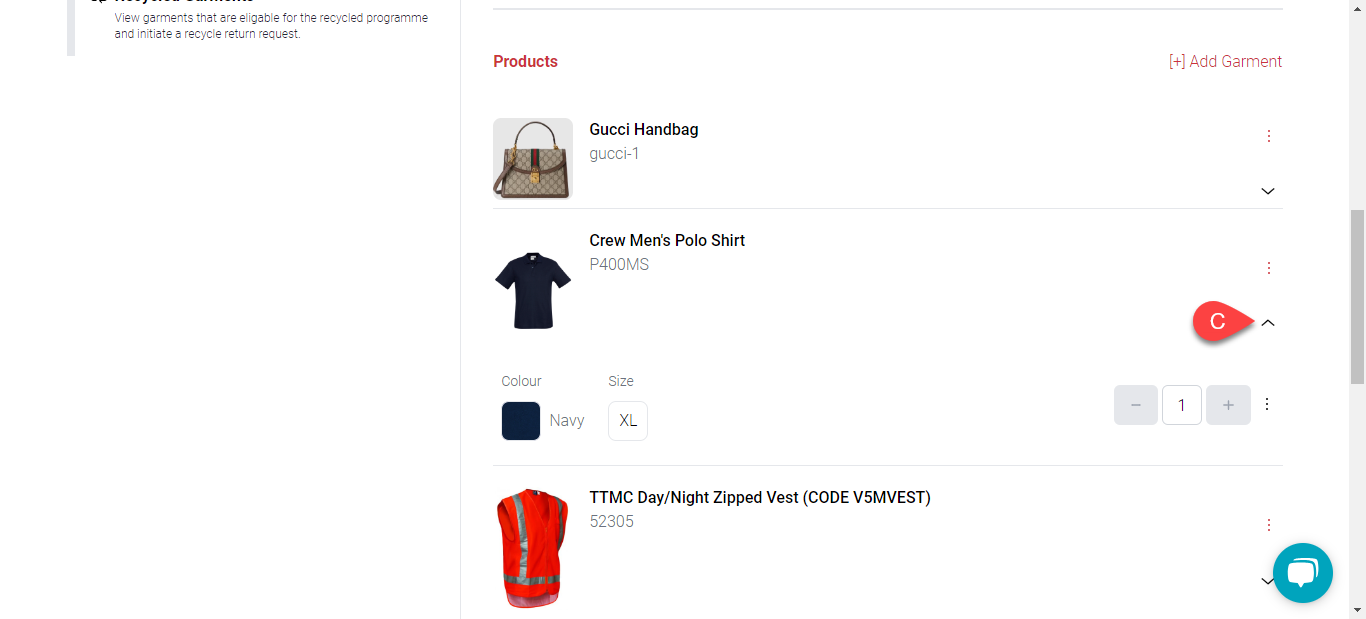
The new garment should appear on the list. Click (c) the dropdown button to reveal the colour or size. You can also add in the quantity of the product your clients currently have for disposal by clicking the “+” or “-” buttons.
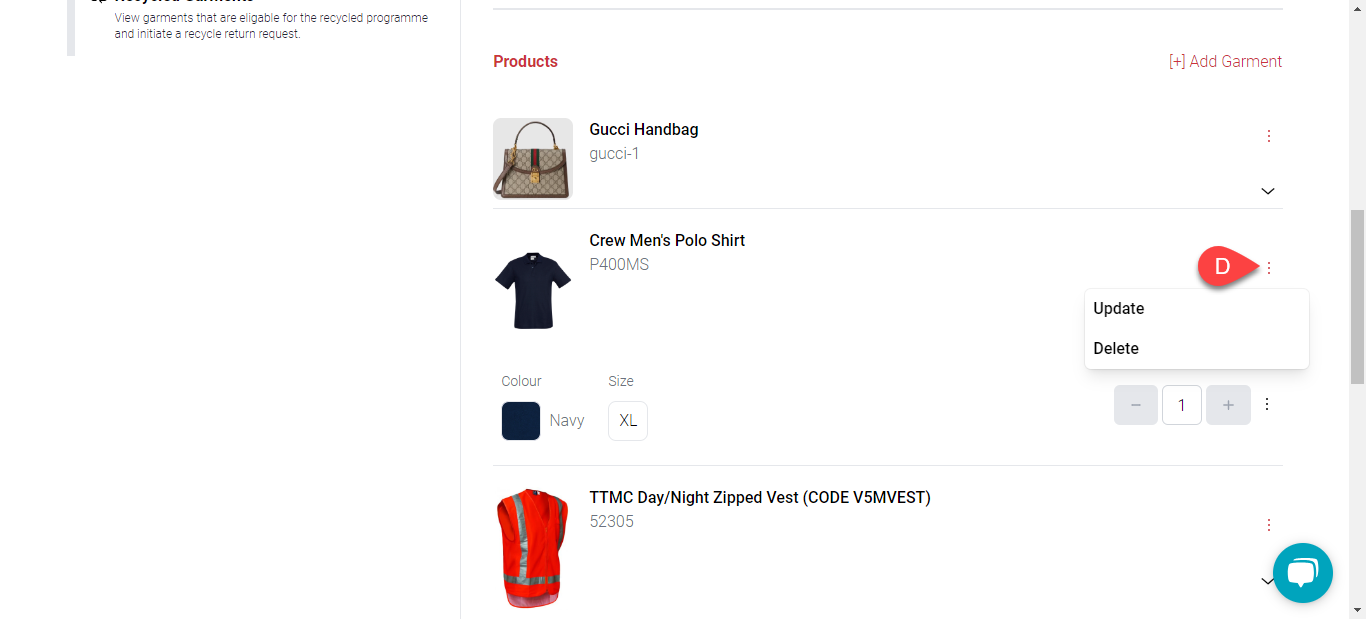
You can also (d) update some more details by clicking on the kebab button and clicking Update.