How to Use Uniform Closet Manager in Your myArrow Account
The myArrow Wardrobe Manager is essential for uniform managers and users to track garment assignments and inventory. The Uniform For feature allows uniform managers to add and store garments allowing for easy adjustments in quantities and disposal of unused items.
This guide will teach you how to use and navigate the Uniform Closet Manager for easier management of staff uniforms.
Navigating to the Uniform Closet Manager
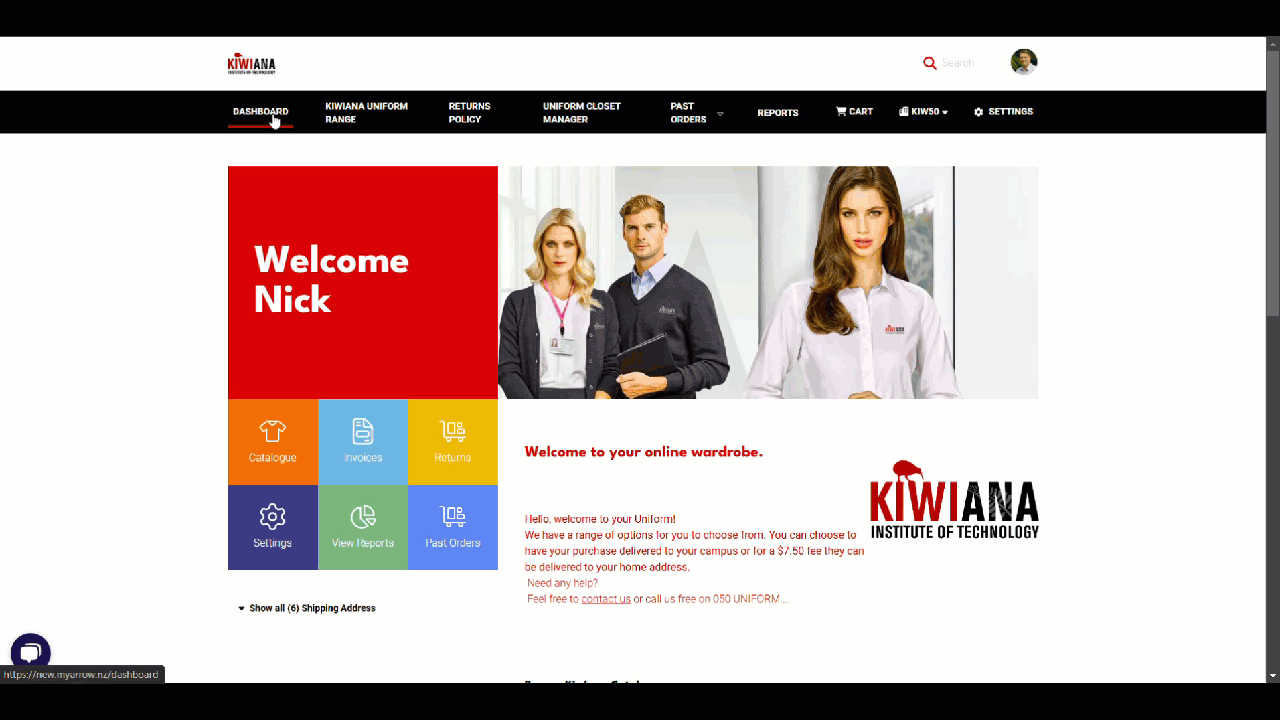
To start, navigate to the myArrow website at www.myarrow.nz, and log in to your myArrow account using your email address or Unique User ID.
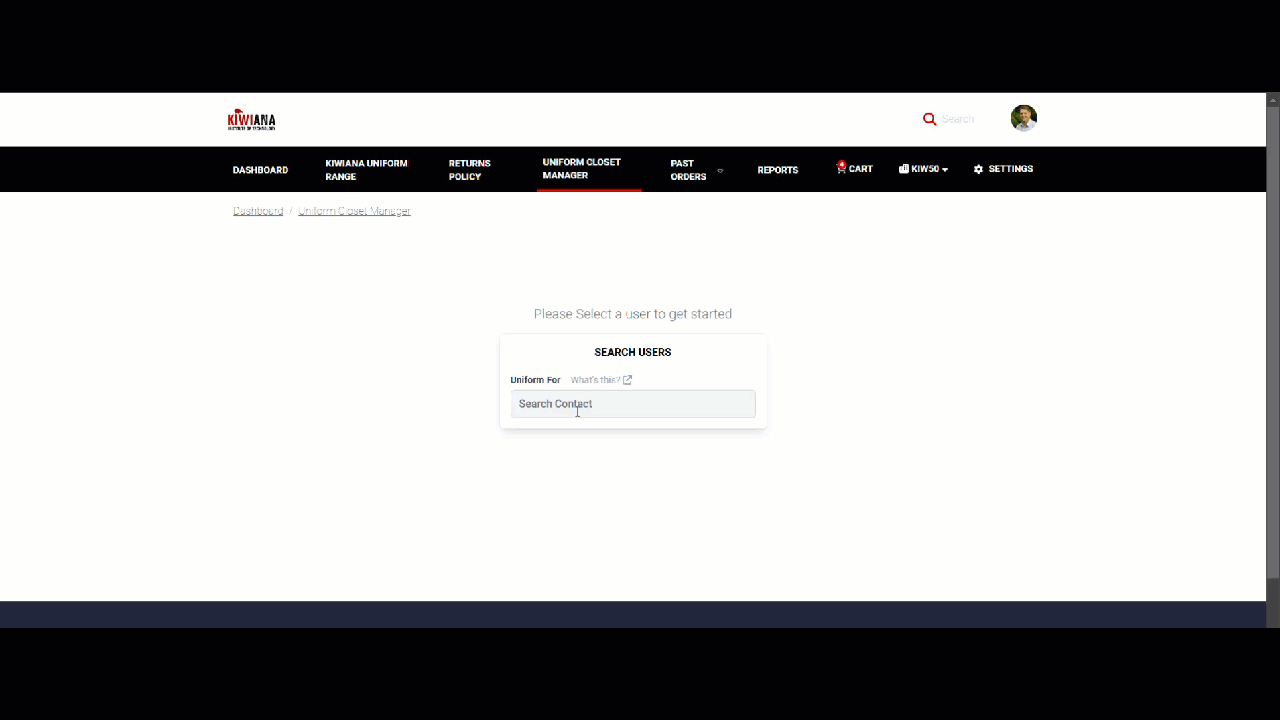
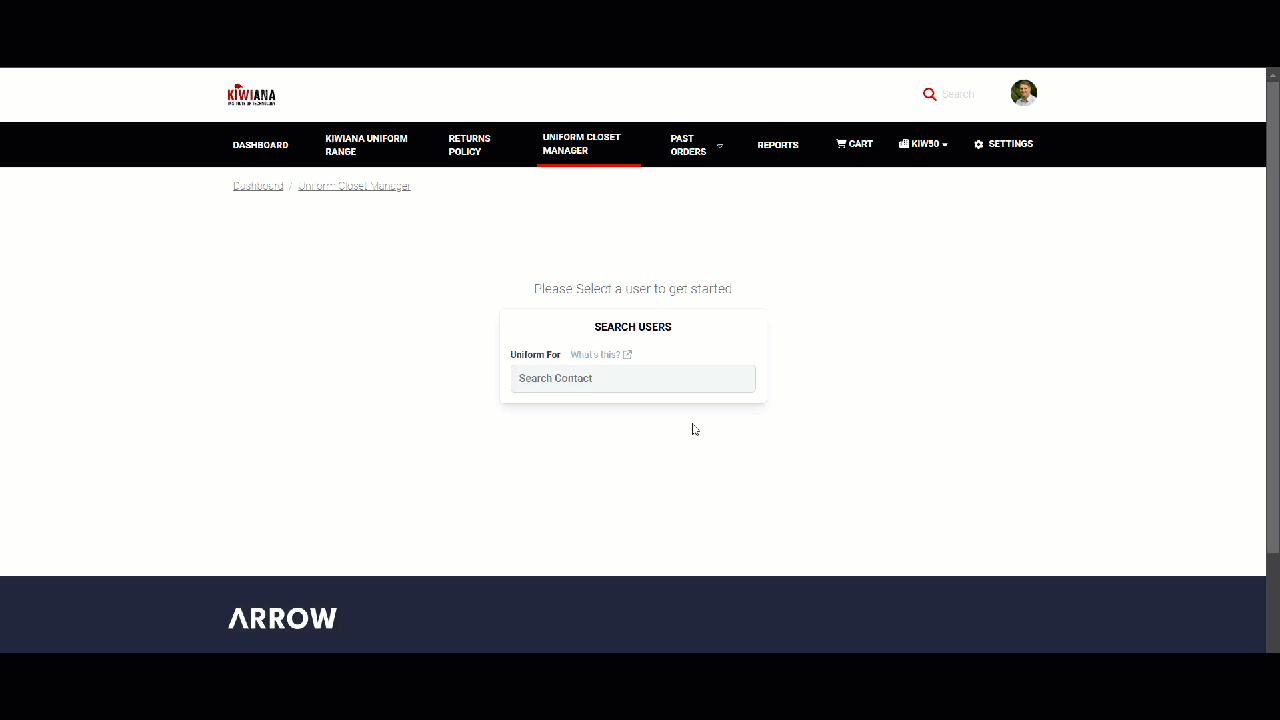
On the dashboard, look for the Uniform Closet Manager and click. You will navigate to the Wardrobe Manager page to see users and products.
Using the Uniform Closet Manager
Once you're on the page, a text field appears on the centre of the screen prompting you to type in a Contact. When you type in a letter or keyword, it'll show the user's saved contact as shown below.
Once you're on the user's Uniform Closet, you can change the user anytime by clicking the (Change User) button. This is beside the User's name.
Viewing Products on Uniform For
On the Uniform Closet, you can View the Products by clicking on the drop-down arrow, showing the different catalogues available for that particular user.
Below the Catalogue drop-down is a search button where you can input the Product code or Product Name if you are familiar with these. 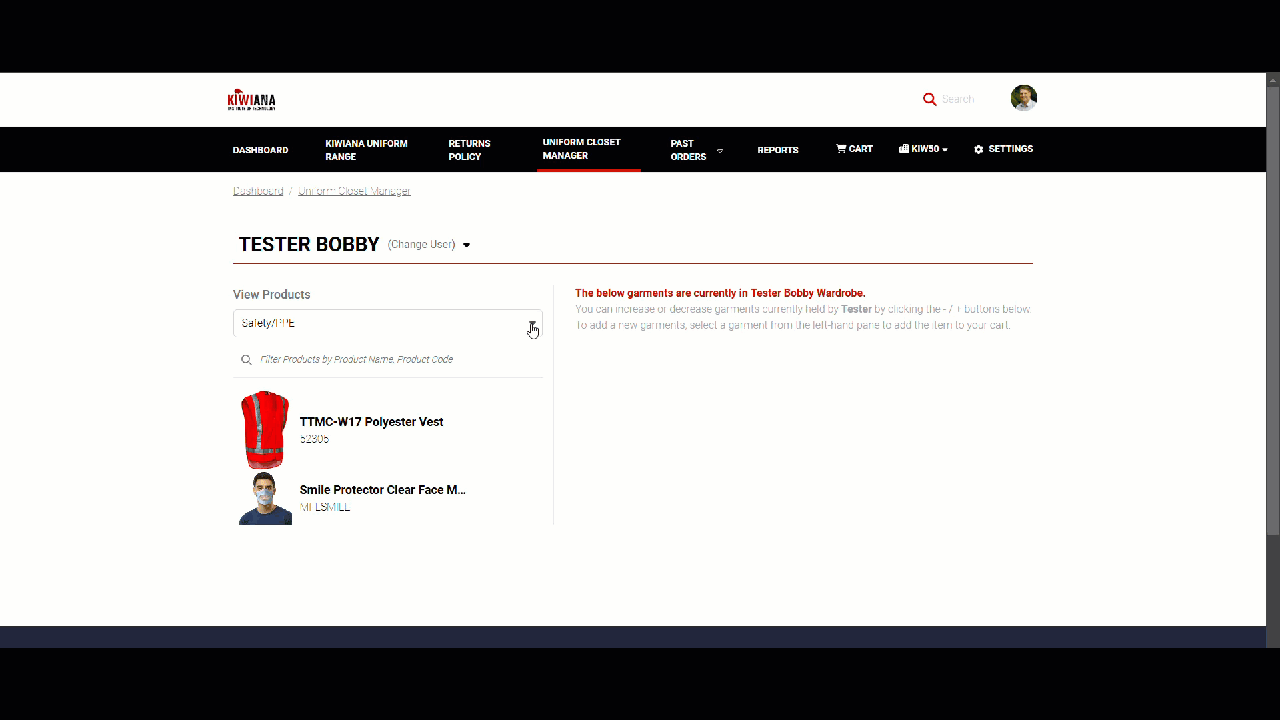
Adding to Cart
Once you've found the product/s, you can add them to cart by clicking on the product. New options will appear such as the Colour and Size. This means you can choose the style of your product. 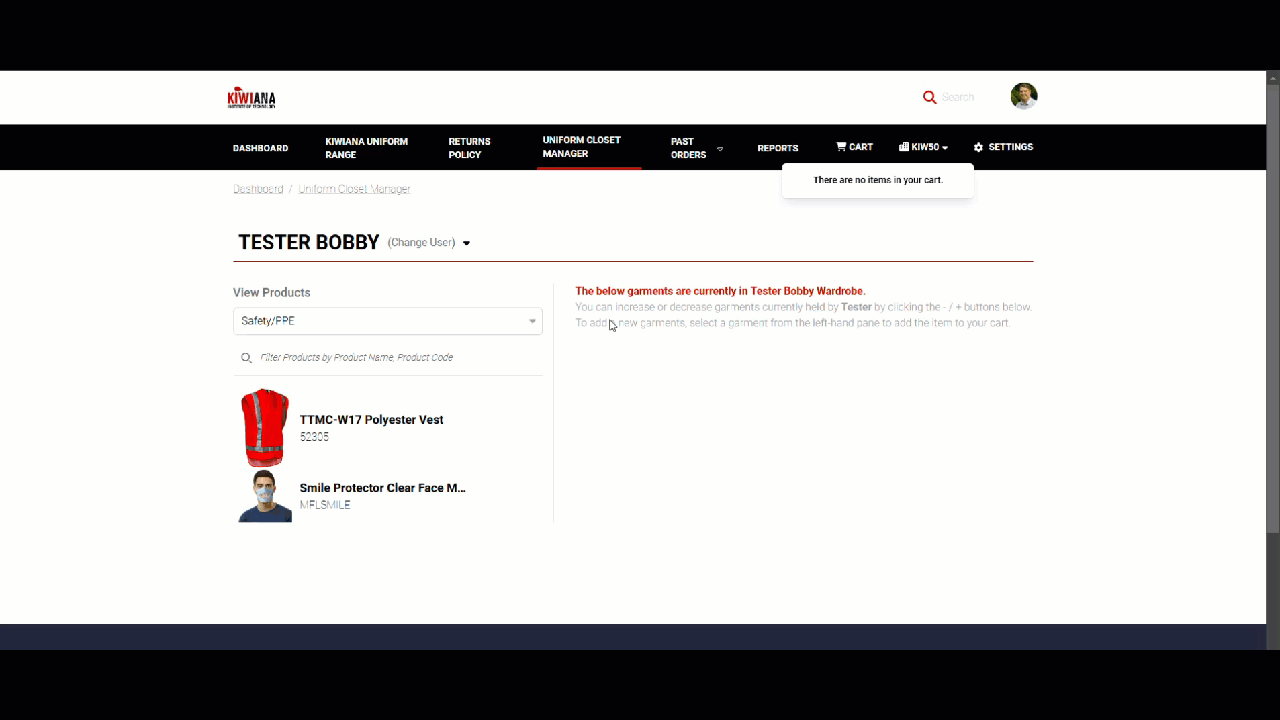
Once you've set the Colour and Size, a new button will appear prompting you to choose the number/quantity of garments that you need. Click the 'Add to Cart' button when everything is set. The product should appear on the right-hand pane.
You can add other garments or increase the quantity of your current garment by selecting the product/s on the left-hand pane. Once that is set you can click 'Preview Cart' button and it should redirect you to the Cart Page. You can checkout normally by clicking the 'Checkout' button.
Adding a Quick Contact
If a user is not found in the Uniform For contact field, you can add them as a Quick Contact. The option should appear below the text field when a user is not found. When the 'Create Quick Contact' is clicked, fields for the First and Last Name will appear. Once that is set, you can click the 'Save' button. The user should now have a Uniform Closet.