How to Add Users and Assign Roles with the myArrow User Management
Using the myArrow User Management Settings feature, you can add new users and assign roles and permissions to your users. This allows you to create and manage user accounts for your team members and ensure they have the appropriate level of access and authority when using myArrow.
Navigating to Account Settings
To start, navigate to the myArrow website at www.myarrow.nz, and log in to your myArrow account using your email address or Unique User ID.
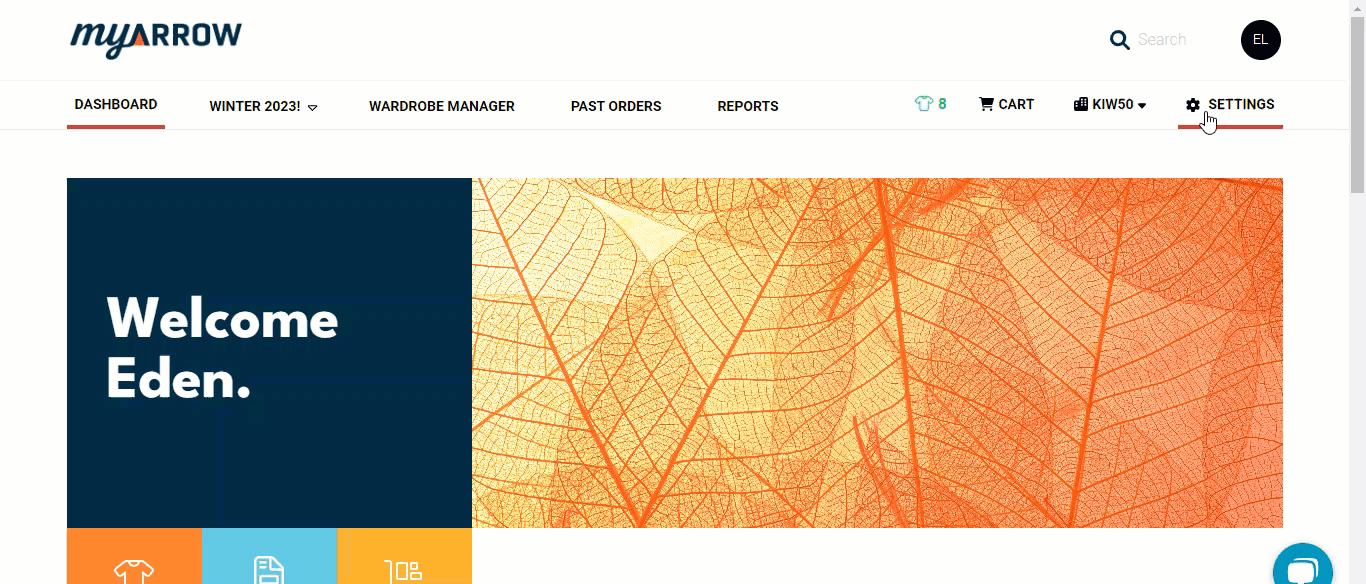
On your dashboard, move your cursor to the upper right portion of the screen and click Settings.
You will redirect to the Account Settings page, with various sections on the sidebar. This includes General Settings, Subsidy & Allocation, Recycled Garments, Wardrobe Management, Account Address Book, User Management and User Groups.
This guide will only focus on the User Management Settings.
User Management Settings
In this section, several features will make adding users and updating your list more manageable.
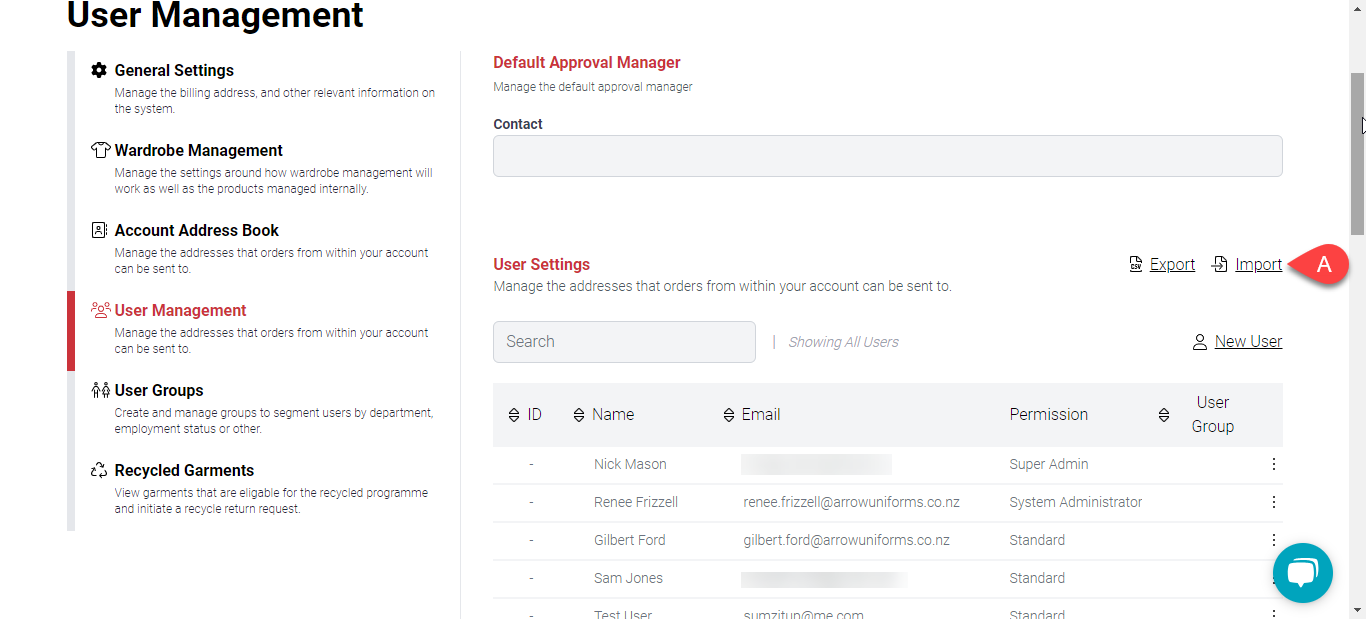
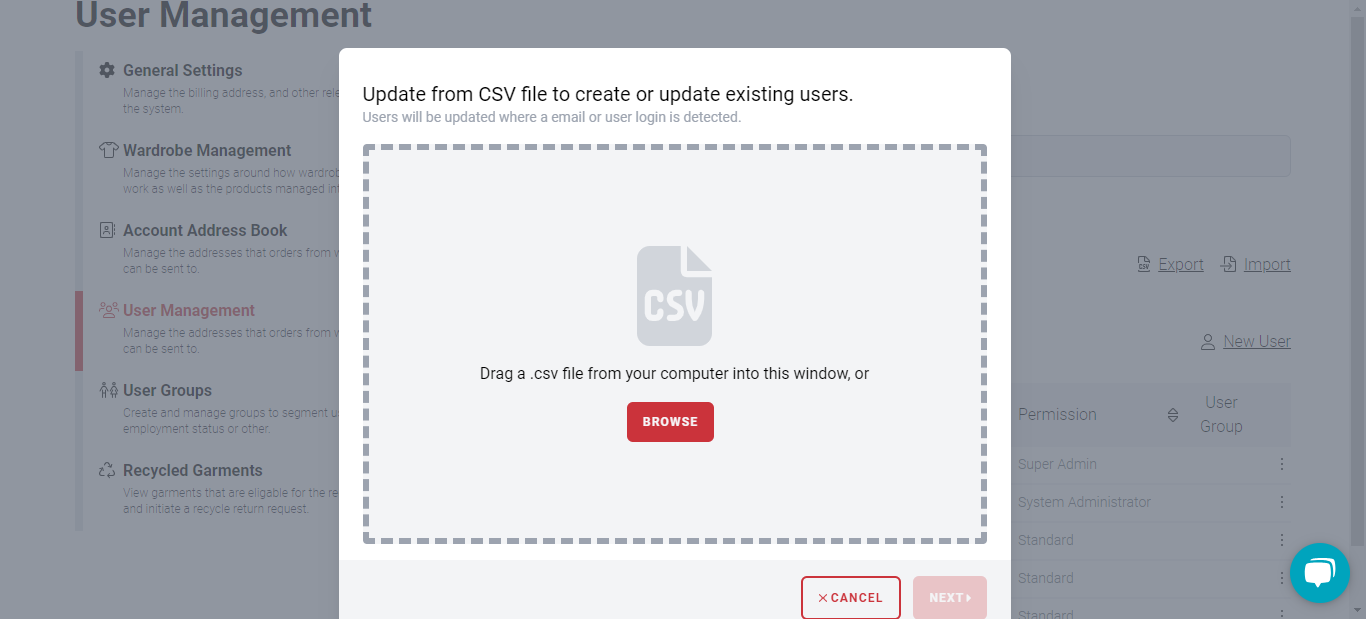
You can (a) import .csv files from your desktop to easily create or update your user list. As shown in the image above, you can drag and drop the .csv file to the file window. You can export the files to have a personal copy of your employee or user list. For a more detailed tutorial, see the Importing Users guide.

You can (b) look for a specific user using the search bar on the upper left side by typing in the ID or the name.
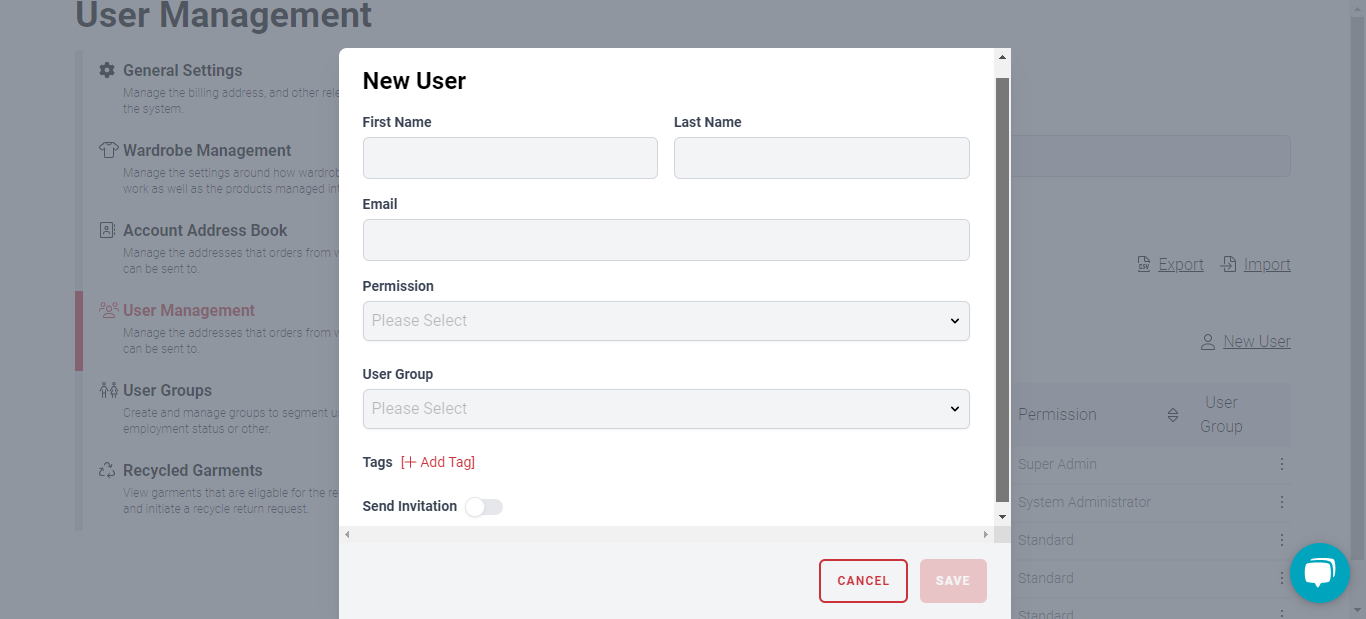
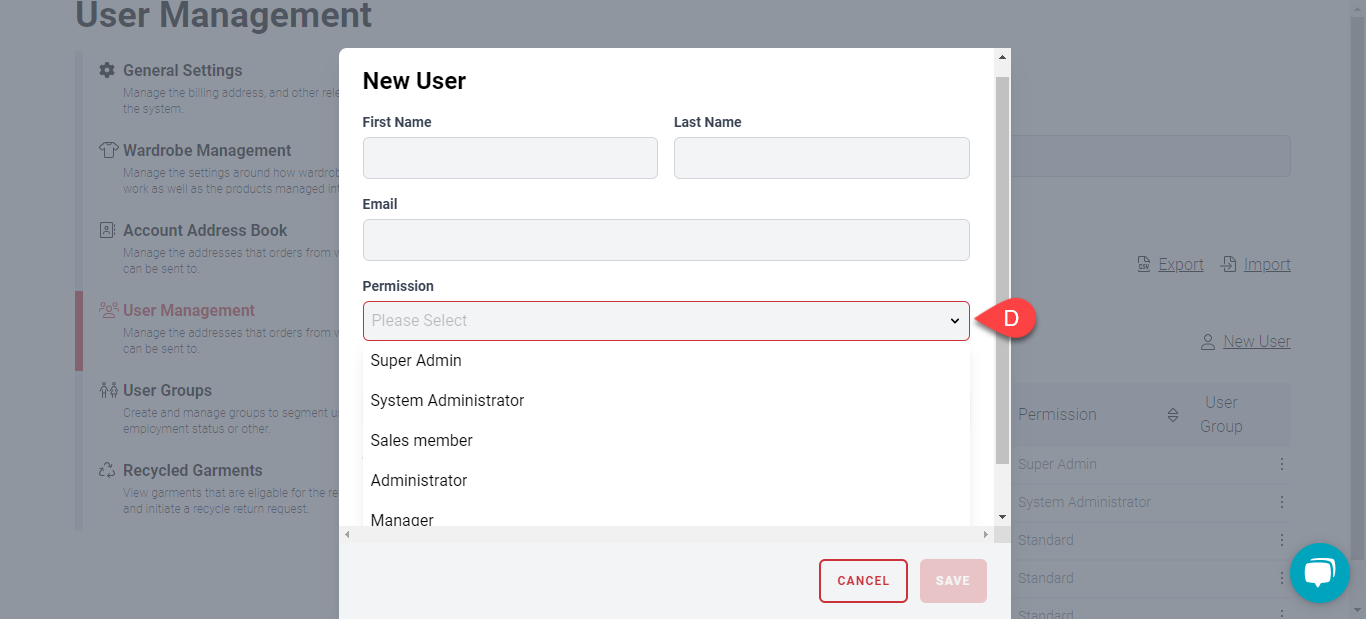
To add (c) a new user, click the “New User” button to open a new dialogue box. You can type in the user’s first name, last name and email address.
When you click (d) the dropdown button on the Permission, you can choose from the Administrator (Super Admin, System Admin), Manager, Sales Member and Standard options (See the summarised guide below for Roles and Permissions).
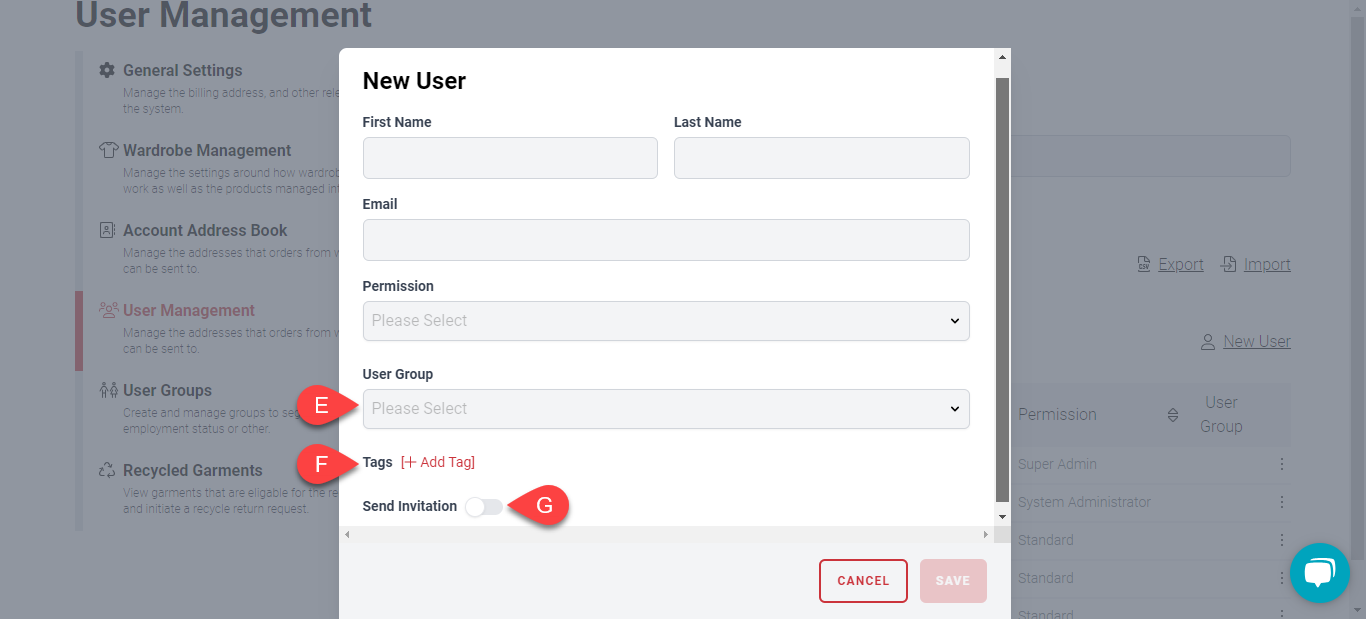
You can also (e) assign users to certain user groups, which will organise them into their respective departments or sectors. See the tutorial on User Groups.
You can also (f) assign tags to users. Enabling (g) the “Send Invitation” button will send the users an invitation email and a link to the myArrow website. You can click the Save button when all the information is set.
Note: A user invitation will expire after 7 days. if an invitation has expired, a new invitation can be sent (instructions below)

This should add the new user to the table/list. The (h) user list contains relevant information such as their ID, Name, Email, Permission and User Group.
You can (i) update or delete the user information anytime by clicking on the kebab button on the right side of the user list.
If a user has not yet accepted an invite, you can re-send a invitation to the individual user by clicking the "Send Invitation"